Promoted articles
QuickBooks V2
Introduction
The QuickBooks (QBO) integration provides a way to sync your sales and inventory transactions to your QuickBooks Online account.
It makes one sales invoice per branch per day. Invoices will have associated payments based on your payment methods.
For inventory, a bill or a journal entry is created depending on the inventory transaction type.
This guide helps you to setup and run the integration with QuickBooks
Important Notes:
- This integration works with the global version of Quickbooks only, it doesn't work with US version, so make sure you are using the correct version of Quickbooks before using the integration
- QuickBooks Plus plan is required for the integration.
- Ensure all cashiers end day before uploading to QuickBooks
Configuring QBO Company
The integration requires you to do mapping between Foodics and QBO for certain entities.
This can be done by creating resources in QBO then link them to Foodics QBO Integration in the integration settings page
We recommend that you first create all needed resources in QBO before enabling the integration and starting doing the mapping
Follow bellow points for detailed explanation on each mapping section
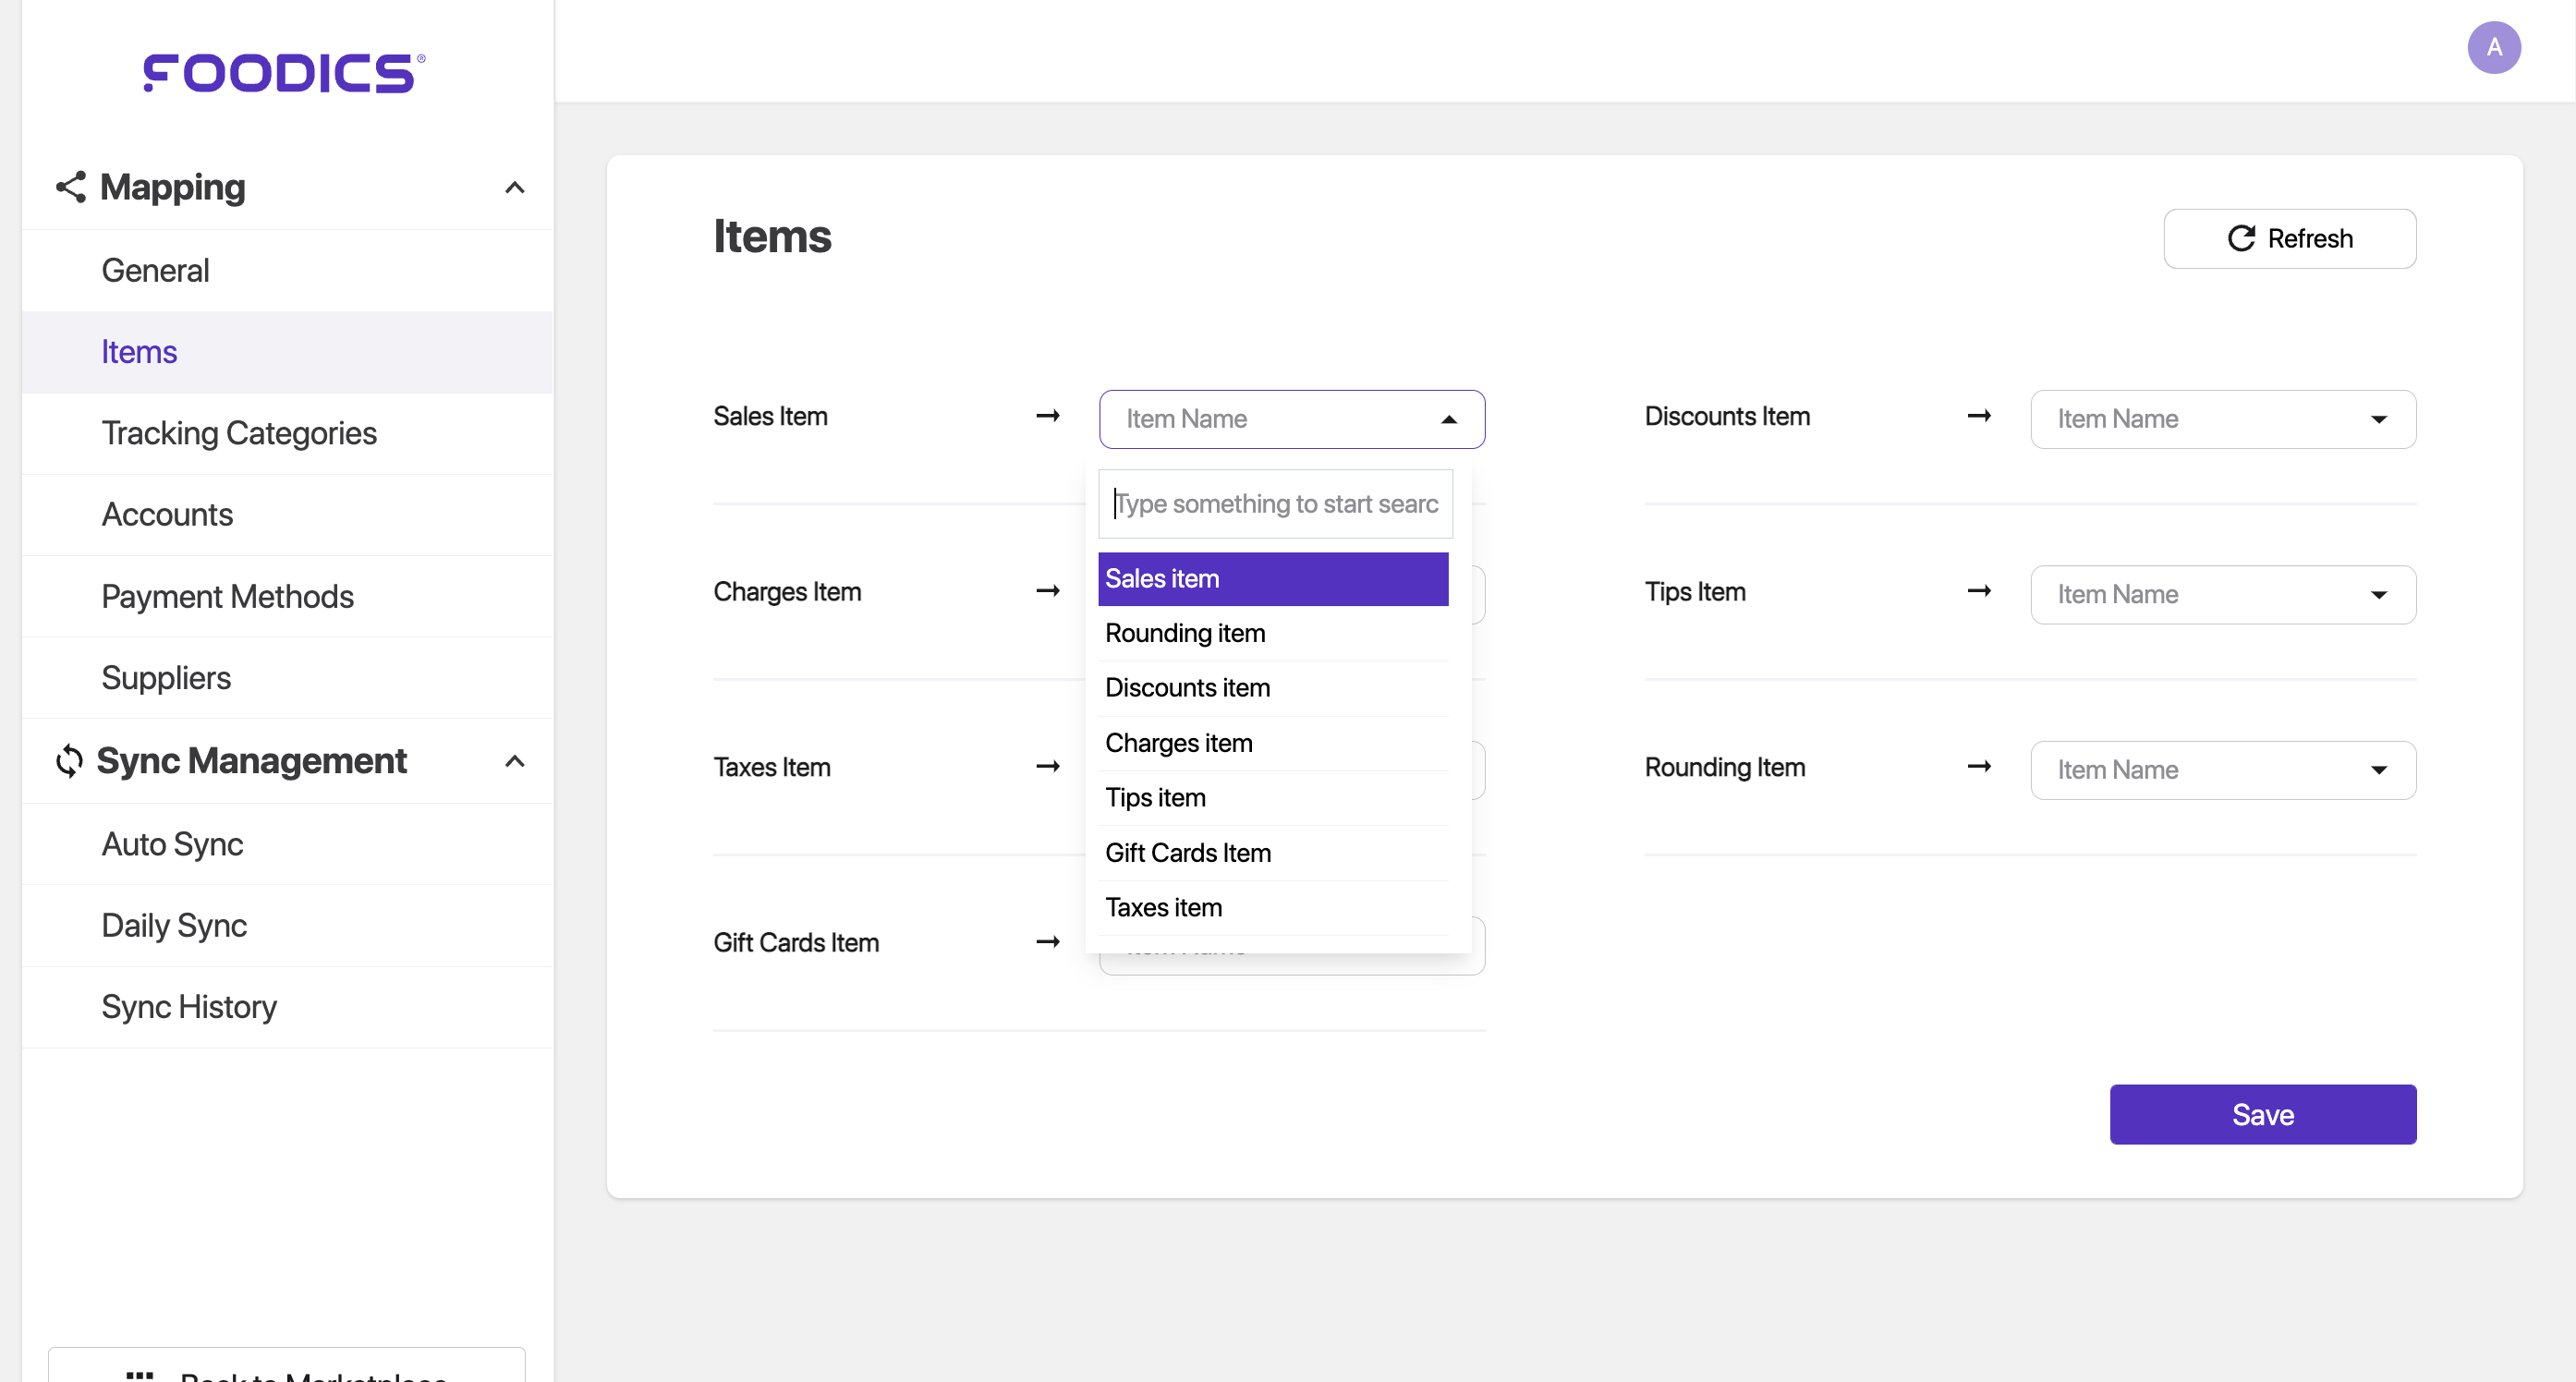
Items
When you sync sales from Foodics to QBO, the sync creates an invoice in QBO. The invoice contains Items
You need to map these items in order for the integration to know where to send the sales data
The invoice items are:
- Sales Item: holds the total amount of net sales
- Charges Item: holds the total amount of charges
- Tips Item: holds the total sum of tips
- Rounding Item: holds the total amount of rounding
- Discounts Item: holds the total amount of discounts
- Gift Cards Item: holds the net amount of sold and used gift cards
Creating The Items in QBO
1- Log in to QBO dashboard
2- From the lift side menu, Go to Sales --> Products and services --> Click New
3- Select Non-inventory, if you select another type, the integration will not work
4- Fill the Name field. Check the box I sell this product/service to my customers., and make sure to select an Income account
5- Don't choose a category, don't insert a selling price, and don't check the I purchase this product/service from a vendor box
Below is a sample of how you should add the items in QBO


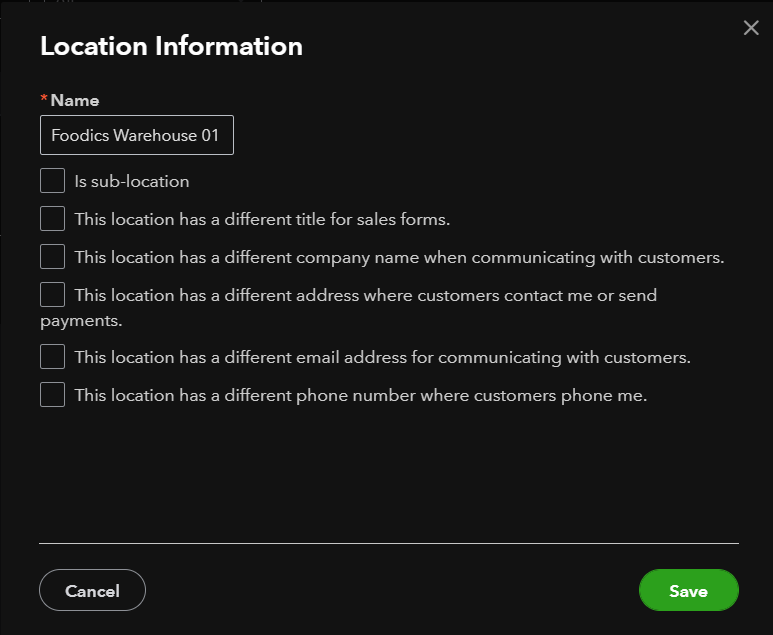
4- Enter a Name for the location, leave other options. Below is a sample
1- From QBO dashboard --> Click the Gear Icon ⚙ on the top right --> All lists
2- Click Payment Methods
3- Click New
4- Enter a Name
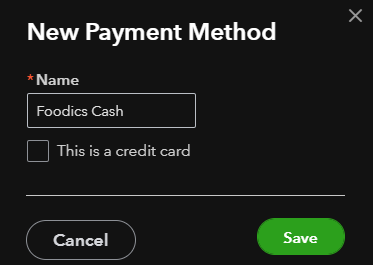
5- Click Save and Close
Do the same for each payment method in your Foodics account
Inventory Accounts
These accounts are used for bills and journal entries as described in the Inventory Entries section.
The inventory accounts are as below:
- Inventory: Stores the cost of all inventory items
- Cost of goods sold: Stores the cost of consumed inventory items
- Inventory adjustment: Stores the cost of lost/damaged/wasted inventory items
- Pending transfers: Stores the cost of inventory items that are pending receiving. When you transfer items from branch A to branch B, items that are not yet received by branch B will be stored in this account
Creating Inventory Accounts in QBO
1- From QBO dashboard --> Accounting --> Chart of accounts
2- Click Add Account
3- Select an Account Type and Detail Type, add a Name to it, the same way you did in payments accounts
4- Save
Do this for the four inventory accounts mentioned above
Inventory Entries
Cost Adjustment:
If new cost is higher than old cost:
- Credit: inventory adjustment account
- Debit: Inventory account
If new cost is lower than old cost:
- Credit: Inventory account
- Debit: inventory adjustment account
Inventory Count
If variance quantity is positive (new item quantity is higher than original item quantity):
- Credit: inventory adjustment account
- Debit: Inventory account
If variance quantity is negative (new item quantity is lower than original item quantity):
- Credit: Inventory account
- Debit: inventory adjustment account
Quantity Adjustment
- Credit: Inventory account
- Debit: inventory adjustment account
Consumption from Orders Transactions:
- Credit: Inventory account
- Debit: Cost of goods sold account
Transfer Out:
- Credit: Inventory account
- Debit: Pending transfer account
Transfer In:
- Credit: Pending transfer account
- Tracking option: sender branch
- Amount: all sent cost
- Debit: Inventory account
- Tracking option: receiver branch
- Amount: received cost
- Debit: Inventory adjustment account
- Tracking option: receiver branch
- Amount: variance (lost) cost
Waste from Orders
- Credit: Inventory account
- Debit: Inventory adjustment account
Waste from Production
- Credit: Inventory account
- Debit: Inventory adjustment account
Return from Orders:
- Credit: Cost of goods sold account
- Debit: Inventory account
Enabling The Integration
Please ensure you have configured your QBO company as shown Here before enabling the integration
Follow below steps to enable the integration
1- Sign in to your Foodics account at console.foodics.com/login
2- Navigate to Marketplace page --> Search for QuickBooks under Accounting --> Click Install
3- Foodics will ask for your permission
Click Authorize App To Access My Account to proceed
Click Cancel Authorization if you want to cancel the process
4- After clicking Authorize App To Access My Account, you will be taken to QBO to connect to your QBO company
5- Sign in to QBO if not already signed in, select QBO company that you want to connect to (in case you have more than one QBO company)
6- Click Next --> Click Connect
7- You will be taken to the integration settings page as shown below, where you can configure and use the integration
Notes on Sync:
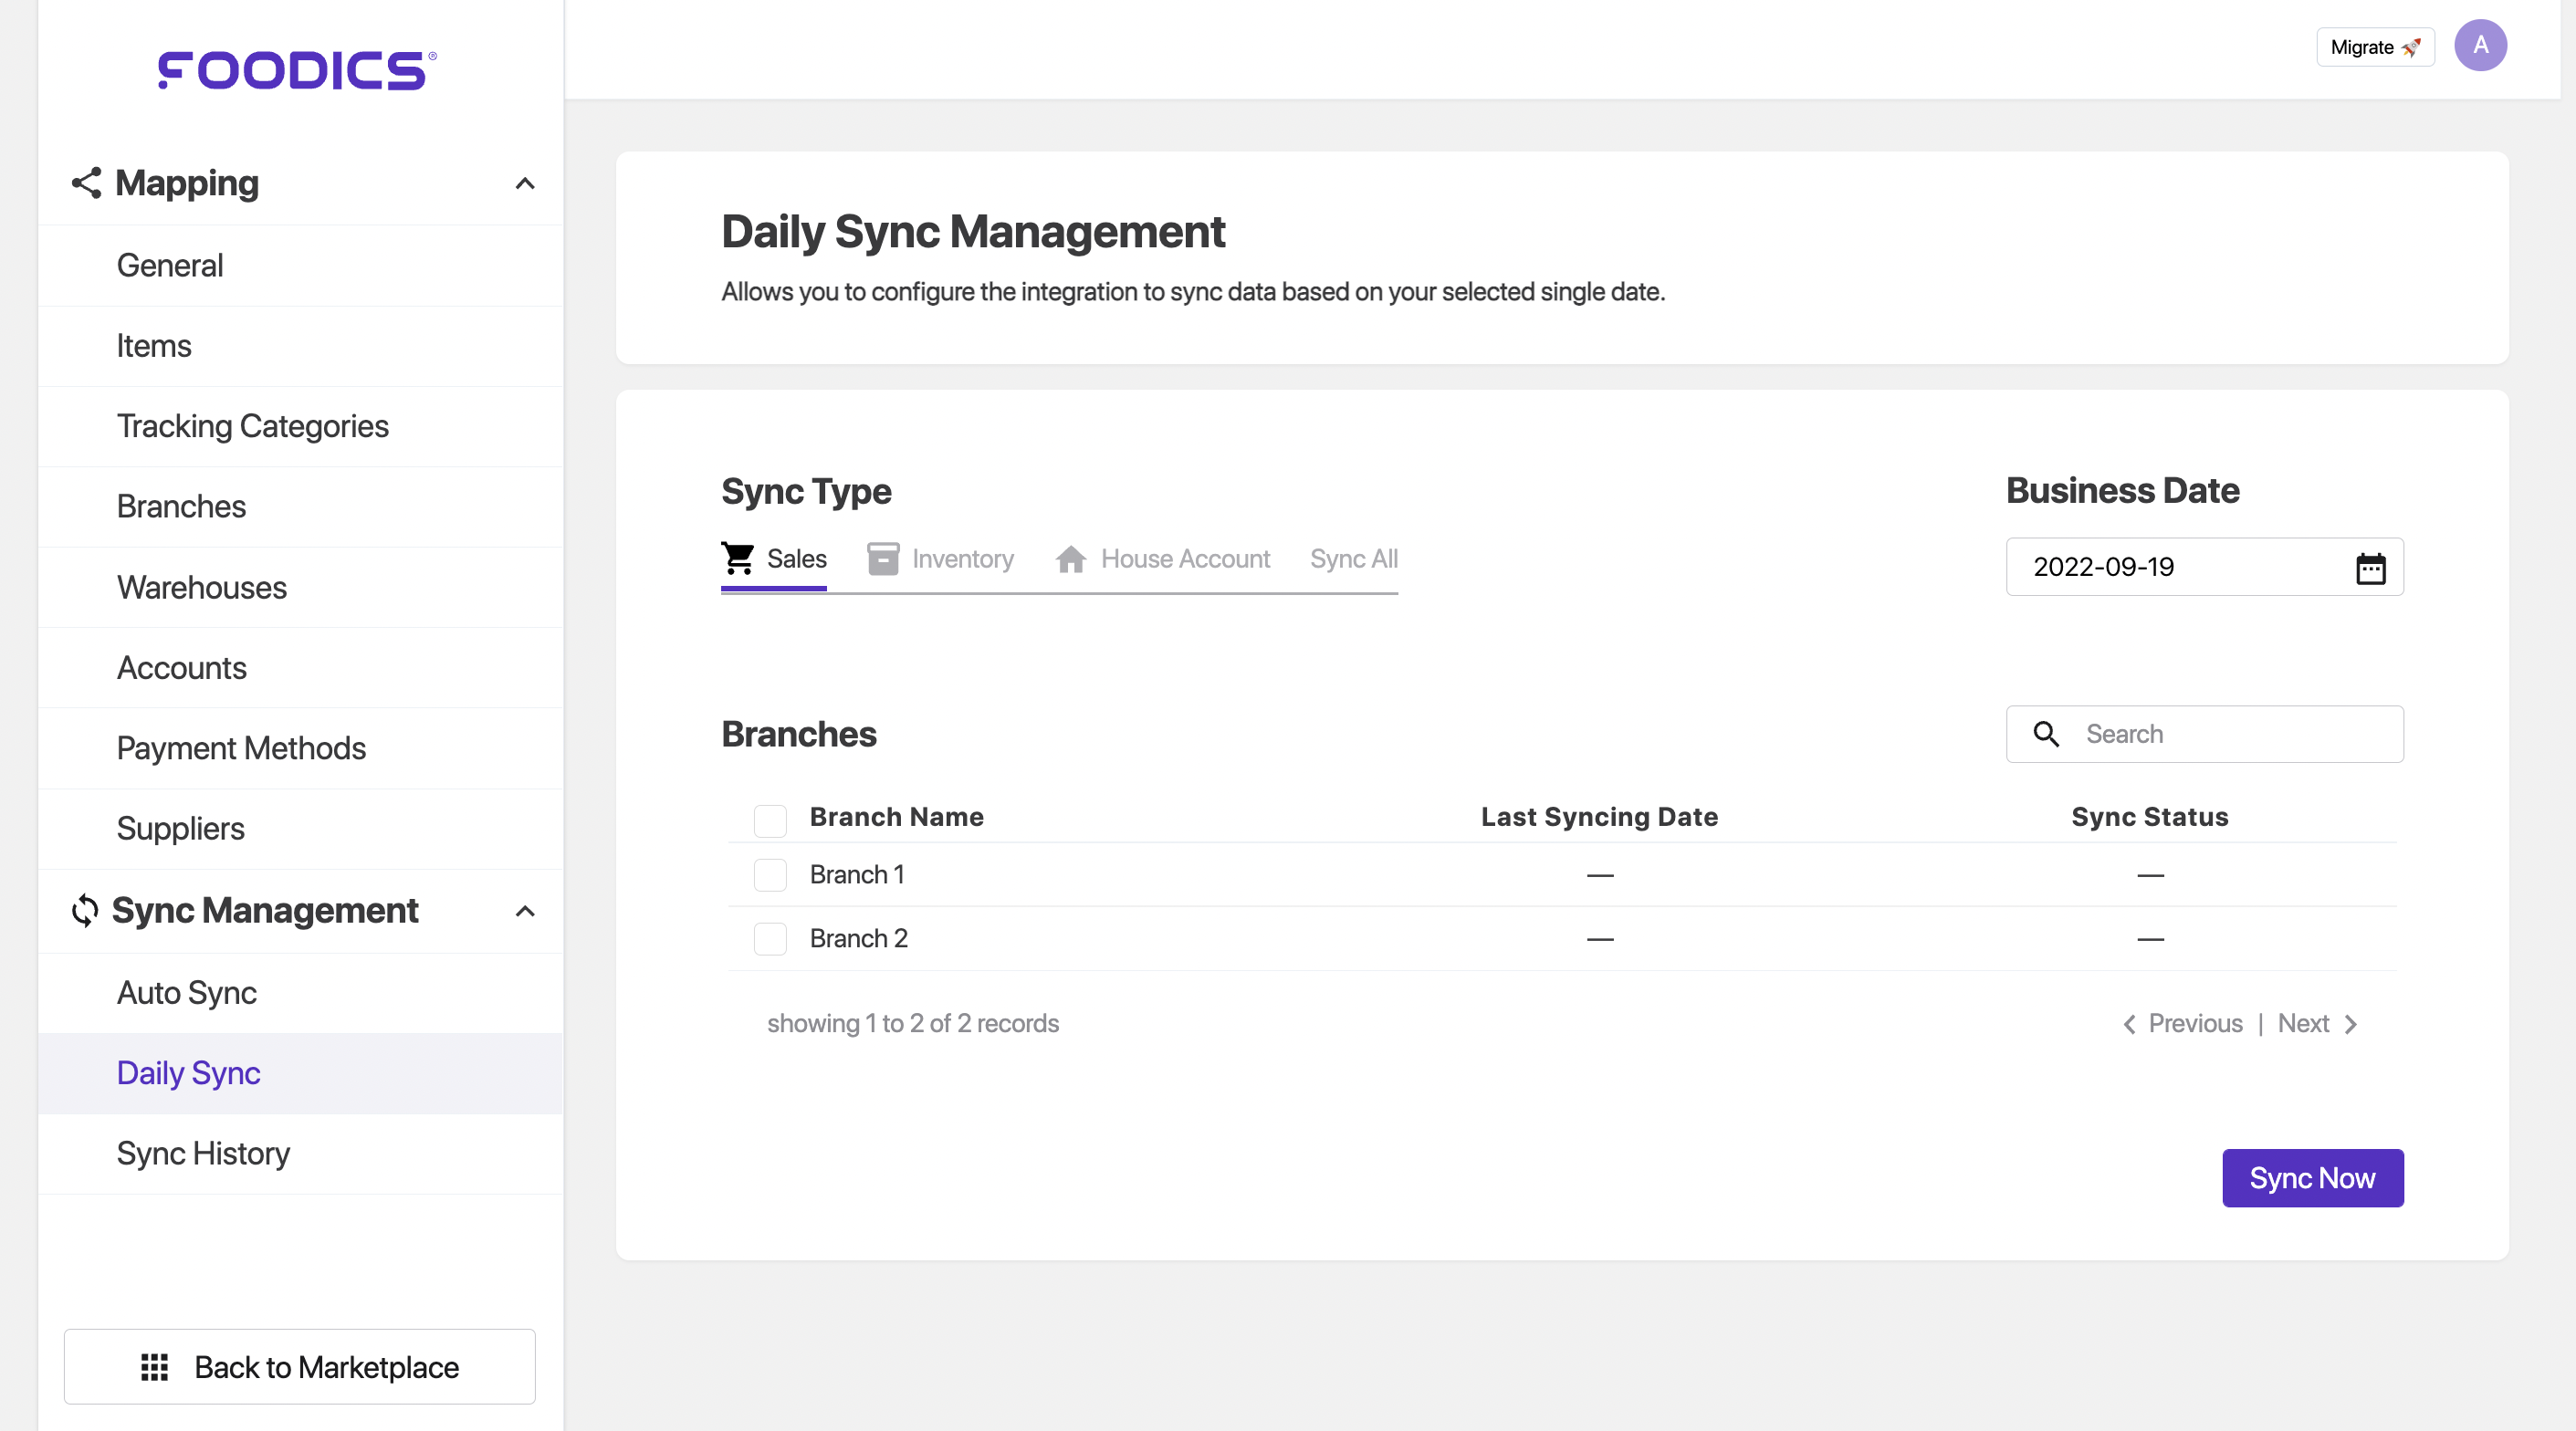
- The sync can be done for a single business date at a time, you
can'tselect a date range - You can select to sync all branches at once, or sync specific branches
- House account sync is done for all branches by default
The sync section is available at the bottom of the settings page as shown below
- Credit: House Account payment account
- Debit: The used payment method account
Sample
A customer owes you 150 SAR on his house account, the customer came and paid 100 in Cash and 50 in credit card, the integration will send a manual journal with the following
- Credit: House Account payment account for 150 SAR
- Debit: Cash payment method account for 100 SAR
- Debit: Credit card payment method account for 50 SAR
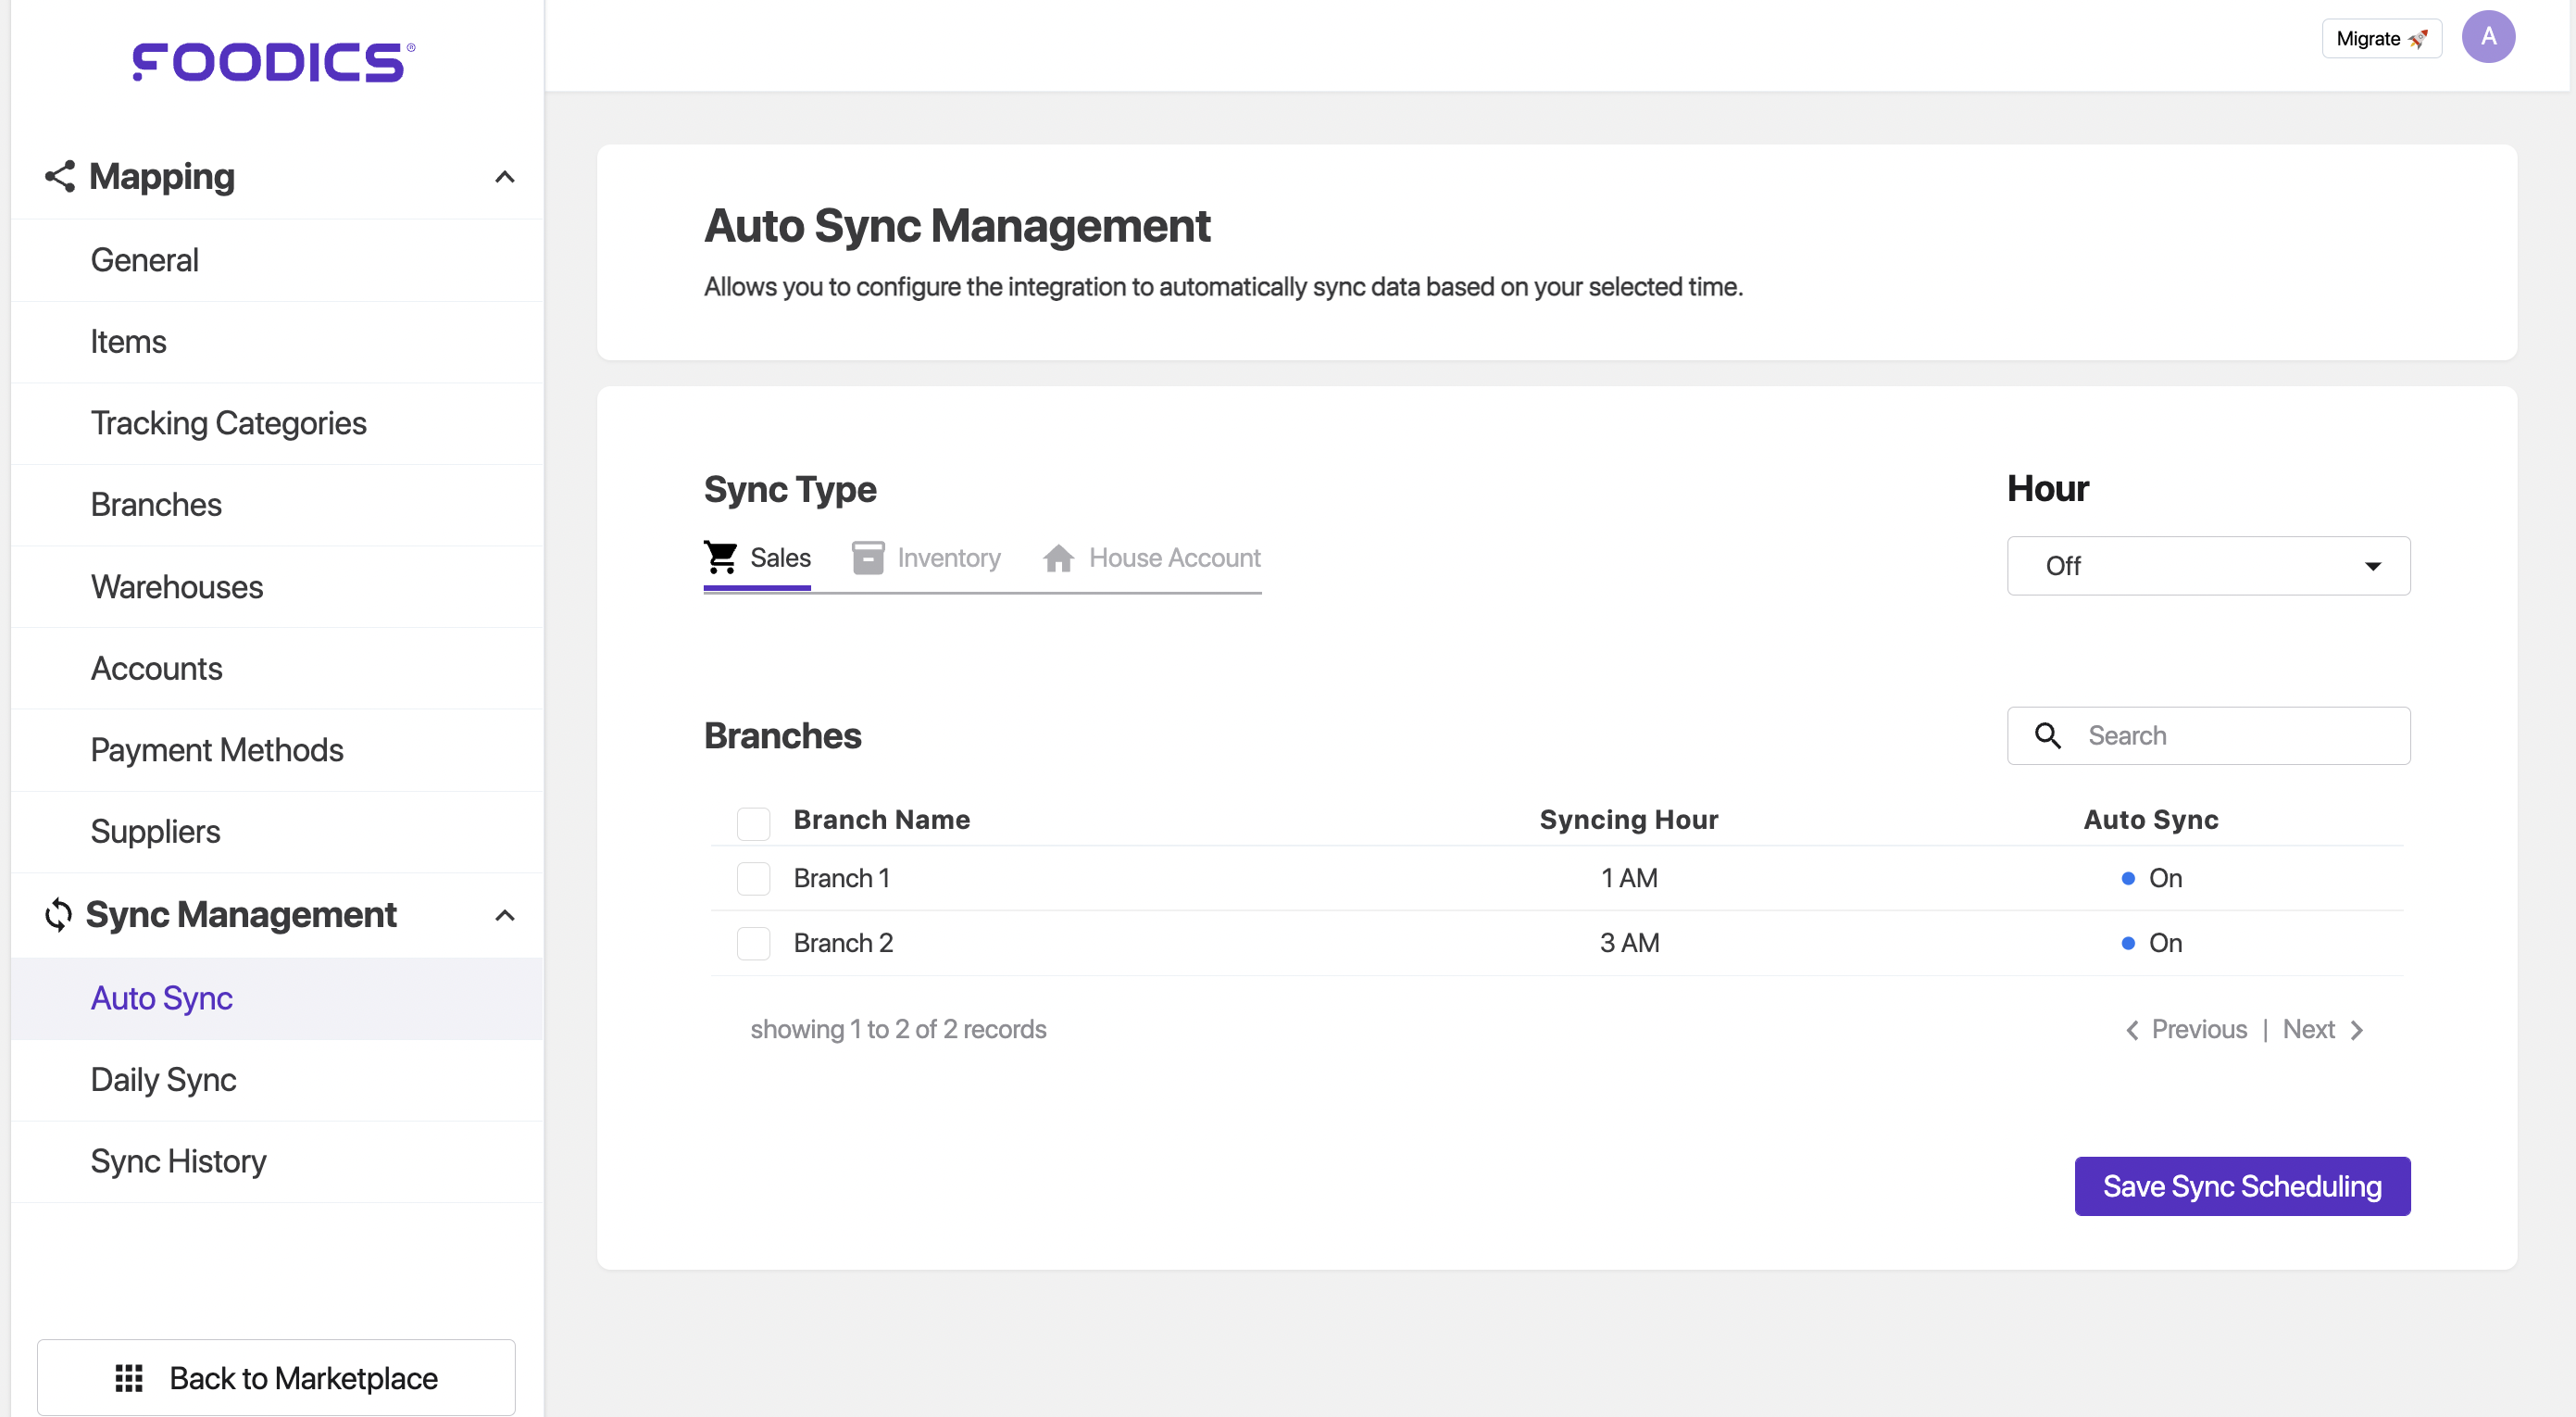
Auto Sync
Allows you to configure the integration to automatically sync data based on your selected time.
To setup the auto sync follow the below steps:
- go to the integration page
- navigate to auto sync
- select the
Sync Typeand select the branches - on the top right set the hour that you want to sync the at
- click save.
QuickBooks integration on Foodics F5 has introduced
- New sales item (Gift Cards)
- New sync section (House Account)
The guide explains how to configure each of these new additions
QuickBooks integration on Foodics F5 has removed
- Default Vendor
You no longer need to map Default Vendor on F5
Q3: What Timezone do the auto sync follow
It follow your foodics business account timezone.
Q4: can I do my syncs retrospectively?
yes, you can, by using the daily sync feature.
Q5: what should I do if a sync job fails?
before contacting support you need to check if you are facing one of the [Common issues and fixes link]
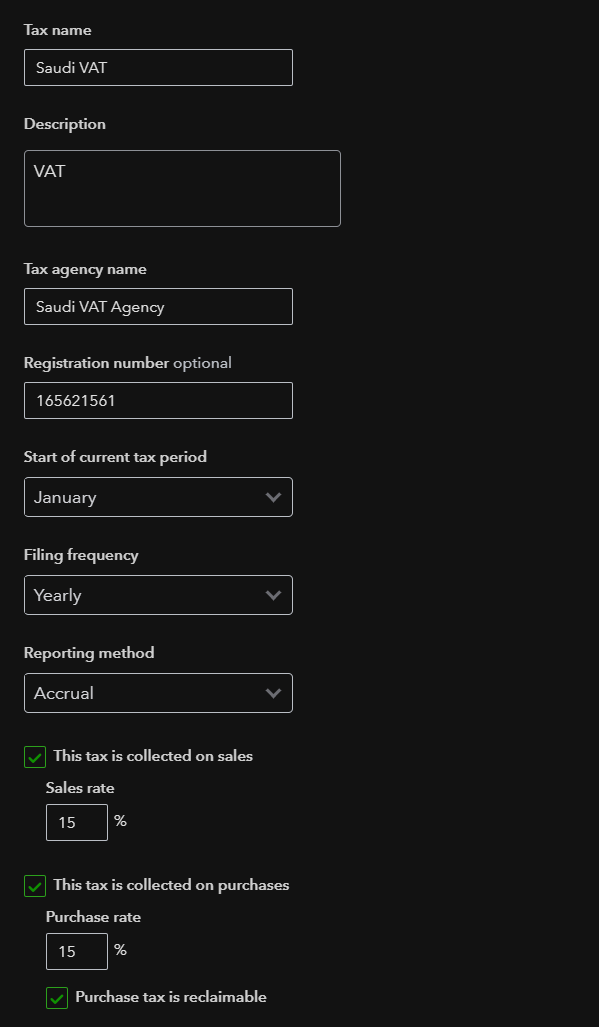
Q5: My country does not have taxes or apply zero taxes to sales, what should I do?
in this case create Tax in QBO, please follow the below steps:
1- From QBO dashboard --> From the lift side menu --> Taxes
2- If you have no previous taxes in QBO, click Set up tax. If you have previous taxes in QBO, click Add tax
3- Fill the details in the page and select the two checkboxes at the bottom: This tax is collected on sales and This tax is collected on purchases. Enter appropriate rates for the two fields.
4- Set the tax to 0.
in this way the integration will work and the taxes will remain exempt
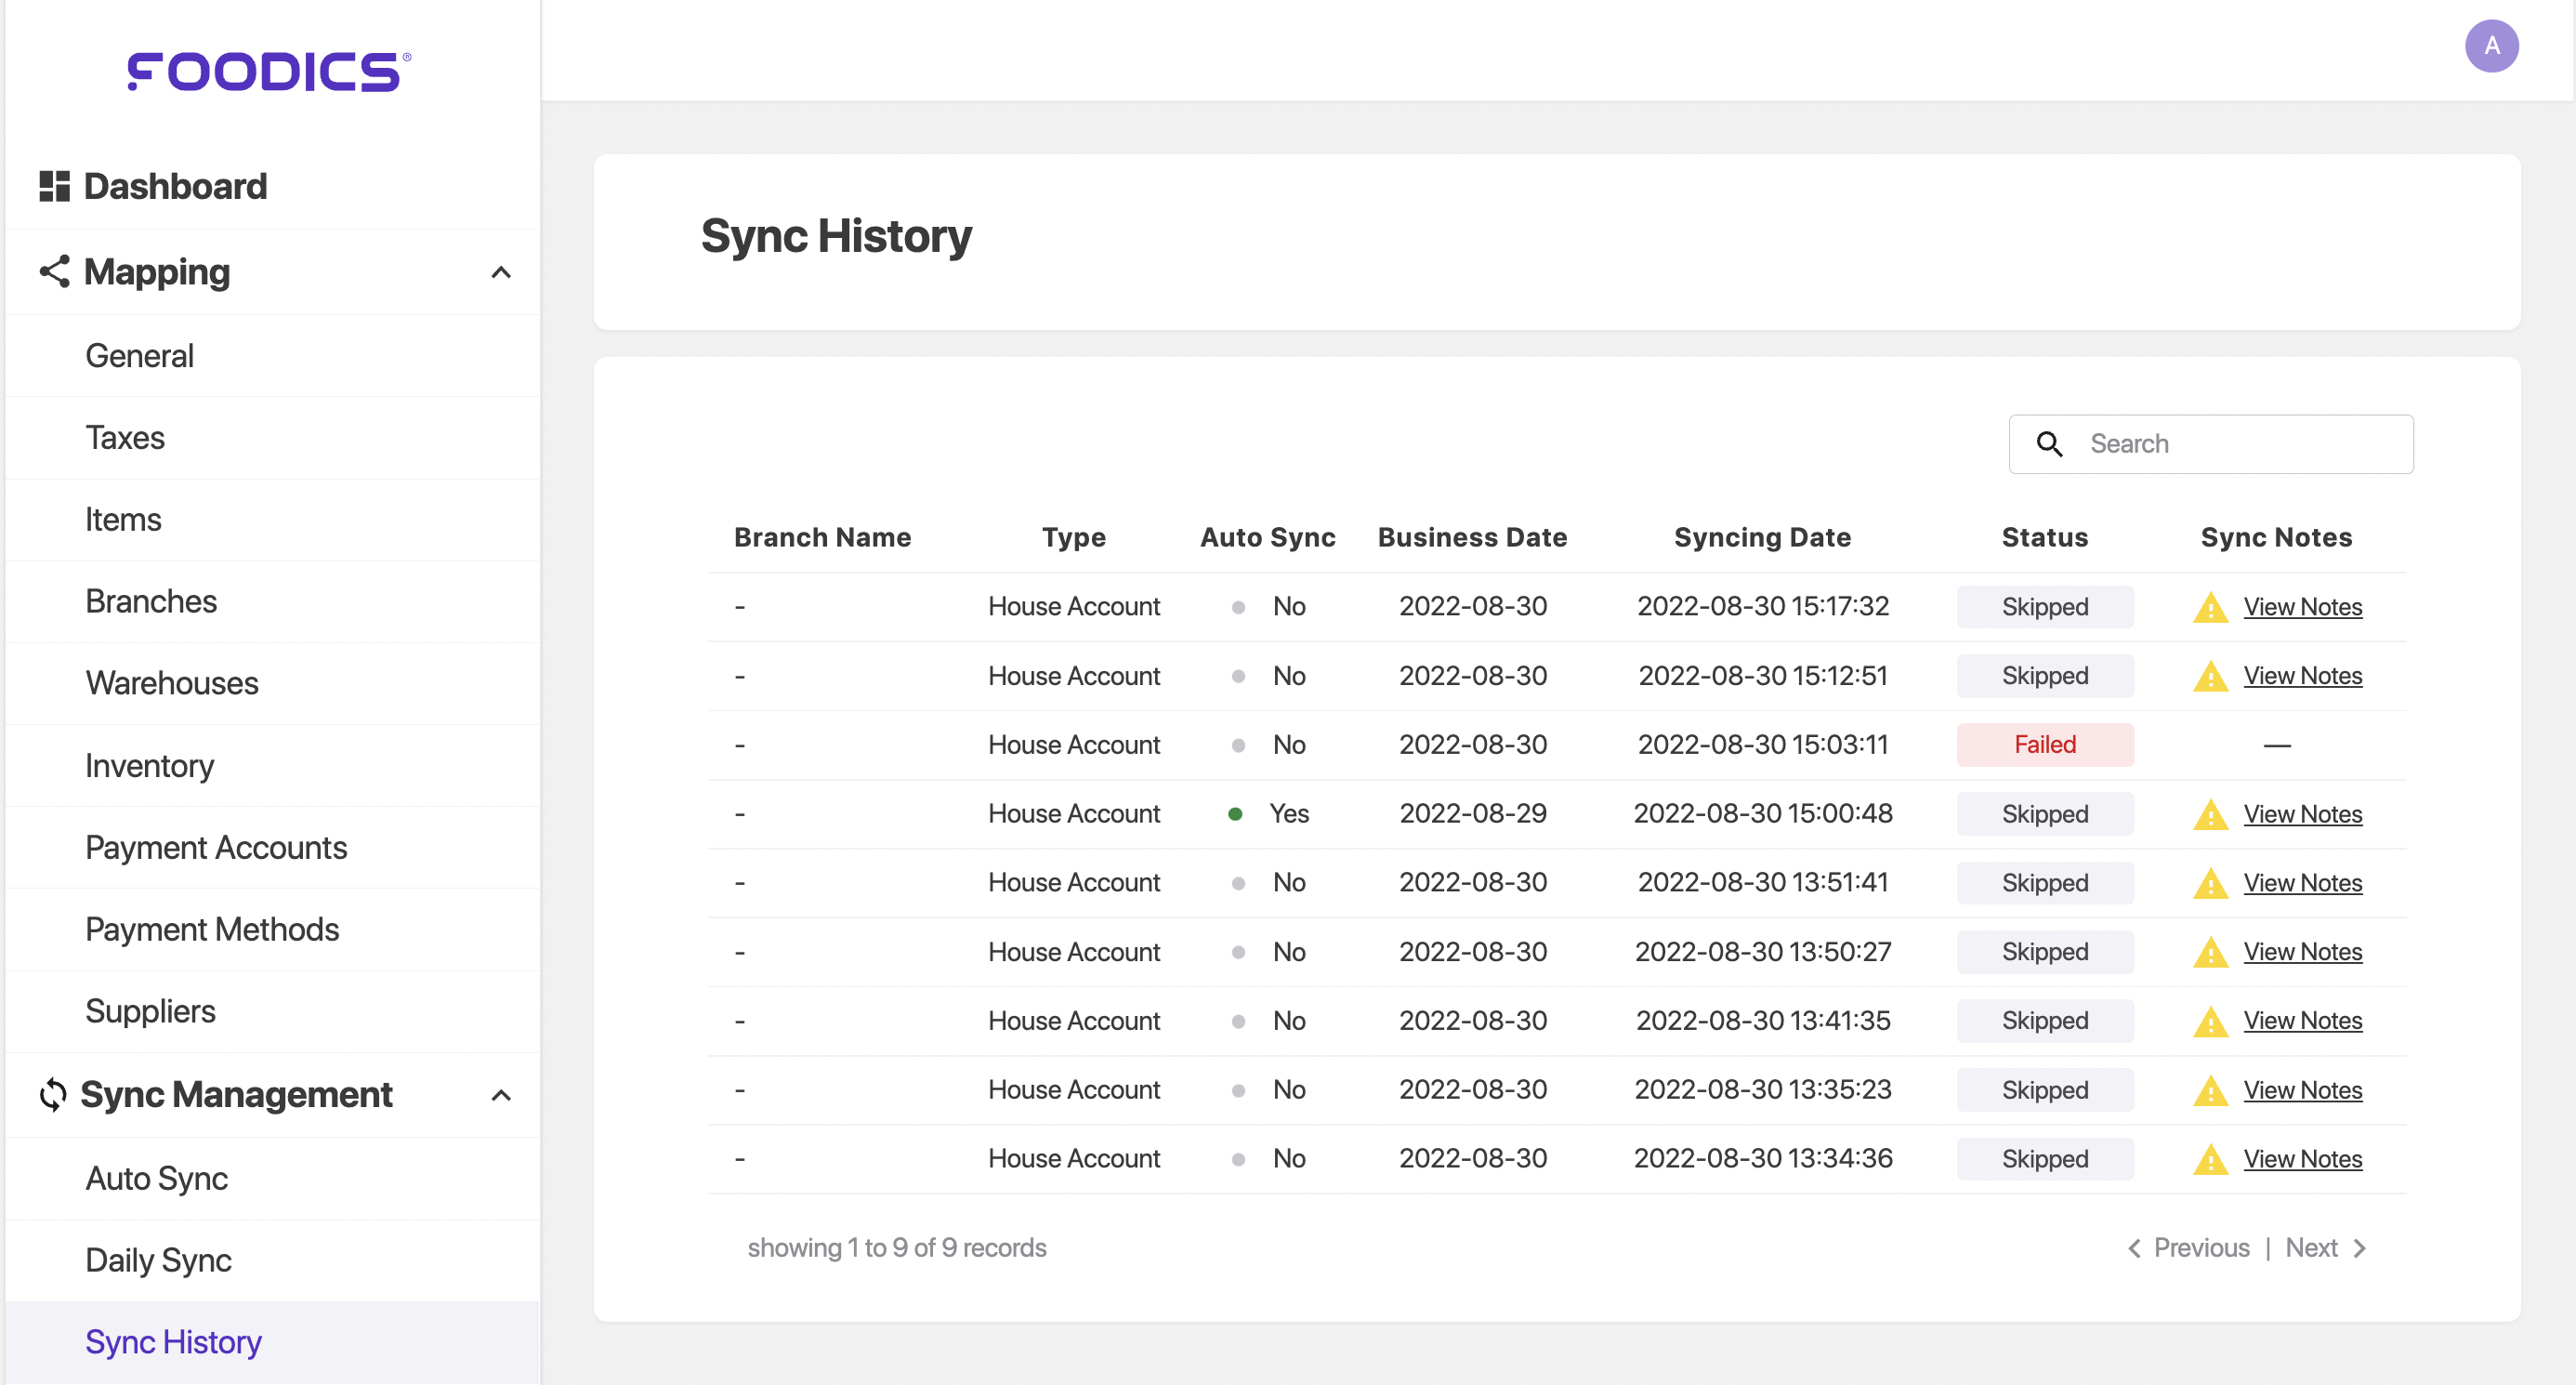
Common issues and fixes
case 1: Sync Job keep failing (in the sync history)
in this case you need to check if all your fields are mapped, if all the fields are mapped check the below case.
case 2: the integration page does not fetch my Quickbooks data at all
- on the selected entity hit the refresh button
- if it didn’t work, go to your profile Icon
- click it and hit
logout - click connect
- on the top right hit the reload button
- reconnect again and the issue should be fixed


